Hiking Esther Mountain in the Adirondacks
On my hike up Whiteface, we took a slight detour in the wrong direction. When we approached the trail sign for Esther, and read, “path not maintained or marked,” we trudged on to Whiteface. After all, I wasn’t chasing the 46er list.
Joke’s on me because three years later…
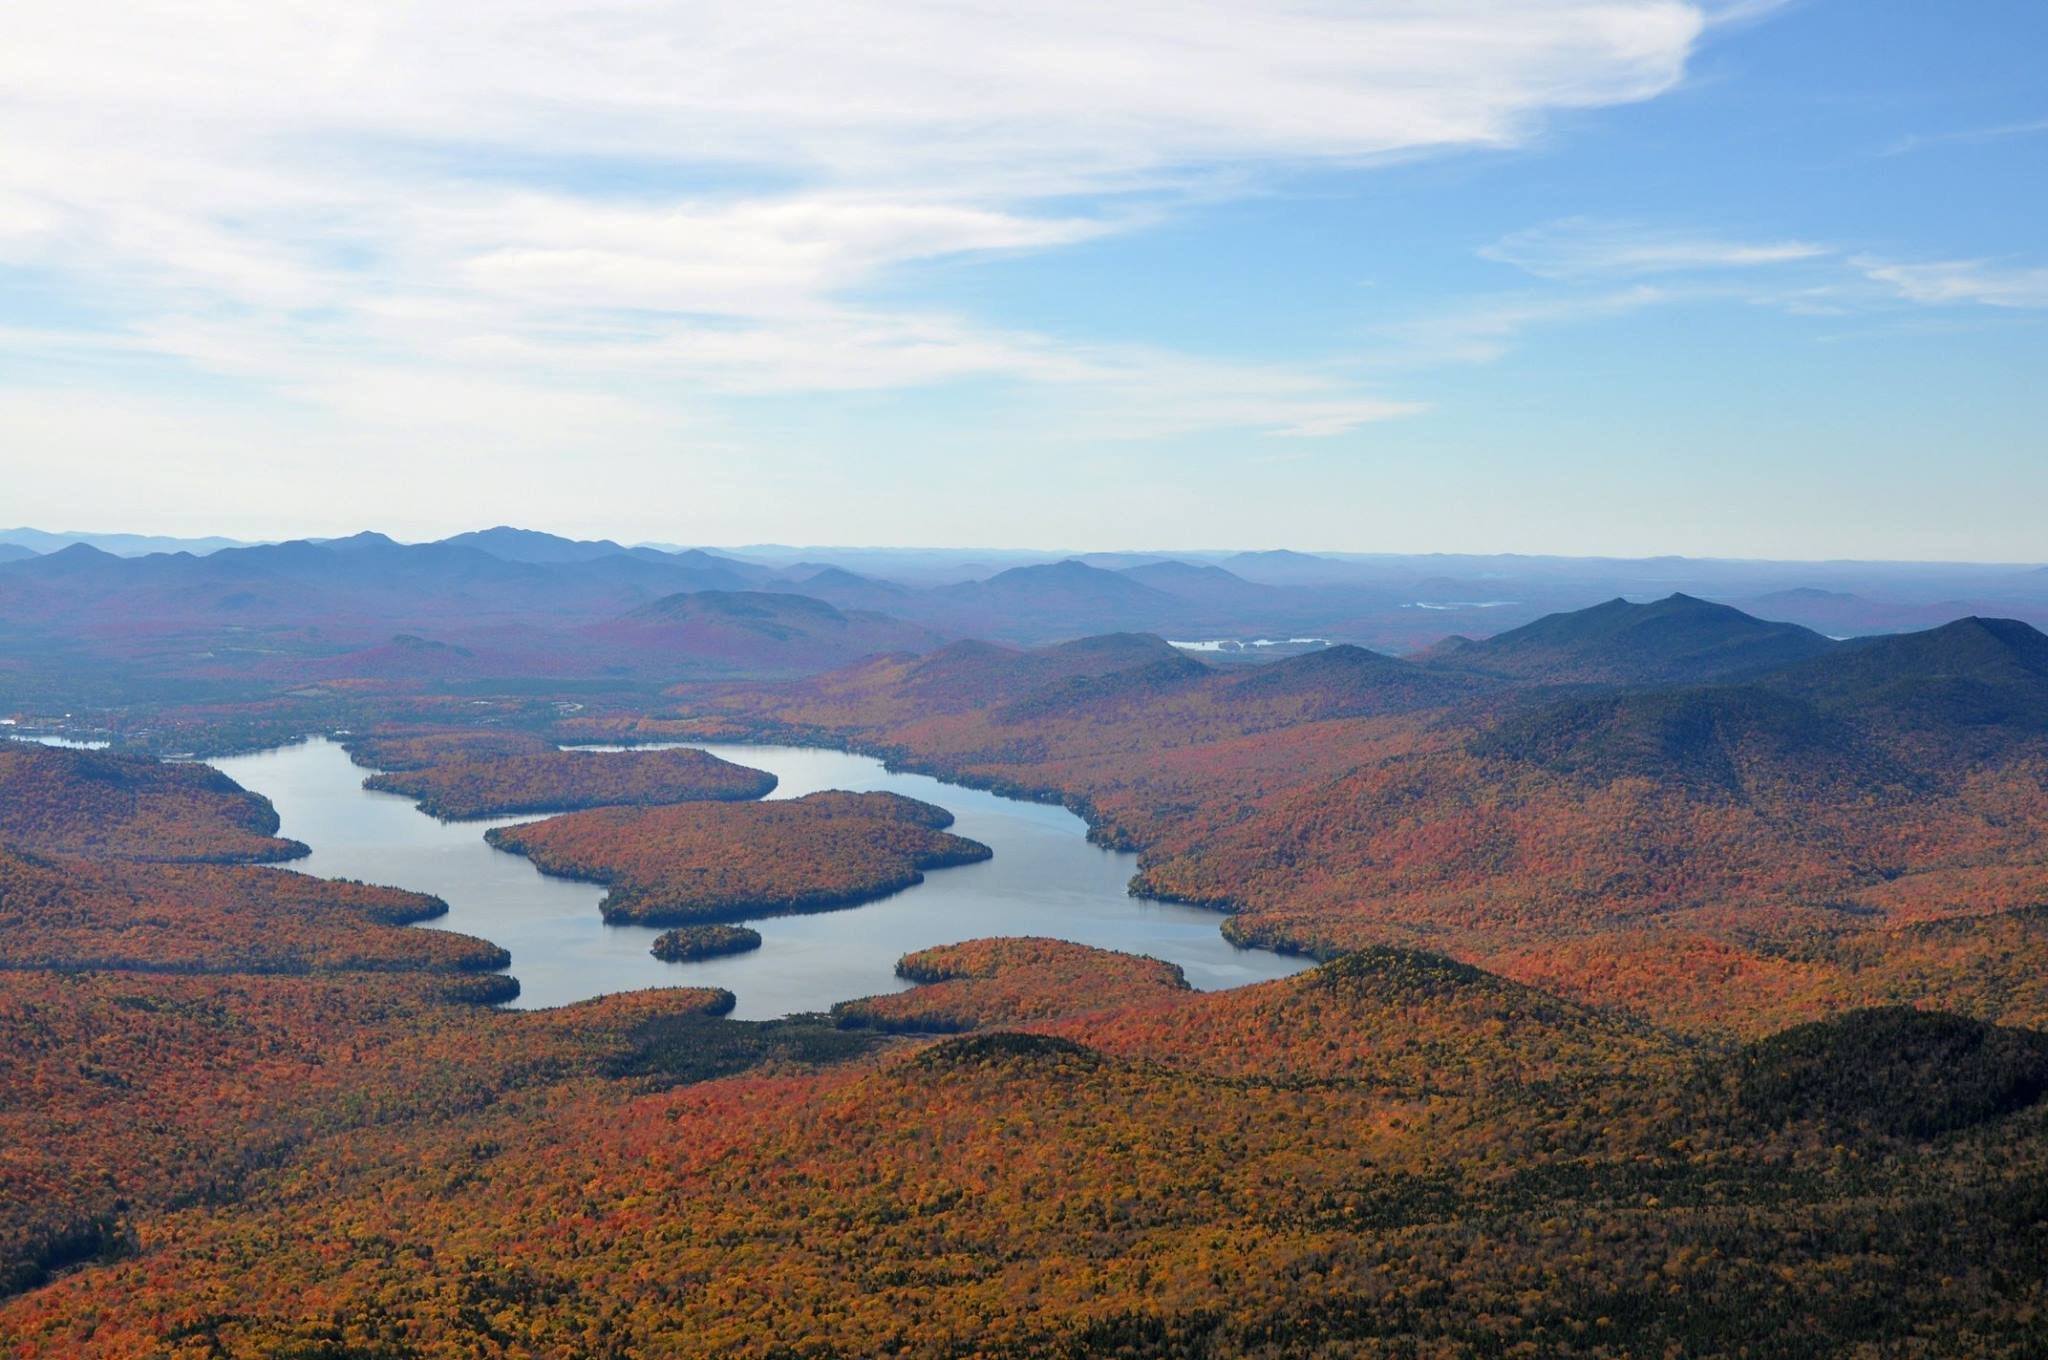
I first discovered the Adirondacks from one of my best friends in college who was living in Hawaii at the time. She sent me a picture of Whiteface’s stony summit path and said, “you have to go there.” Naturally, I drove four hours the next morning (luckily it was the weekend), drove the road up Whiteface, and indulged in the best foliage I had ever seen. Still possibly the best foliage in all my years living in New England since.
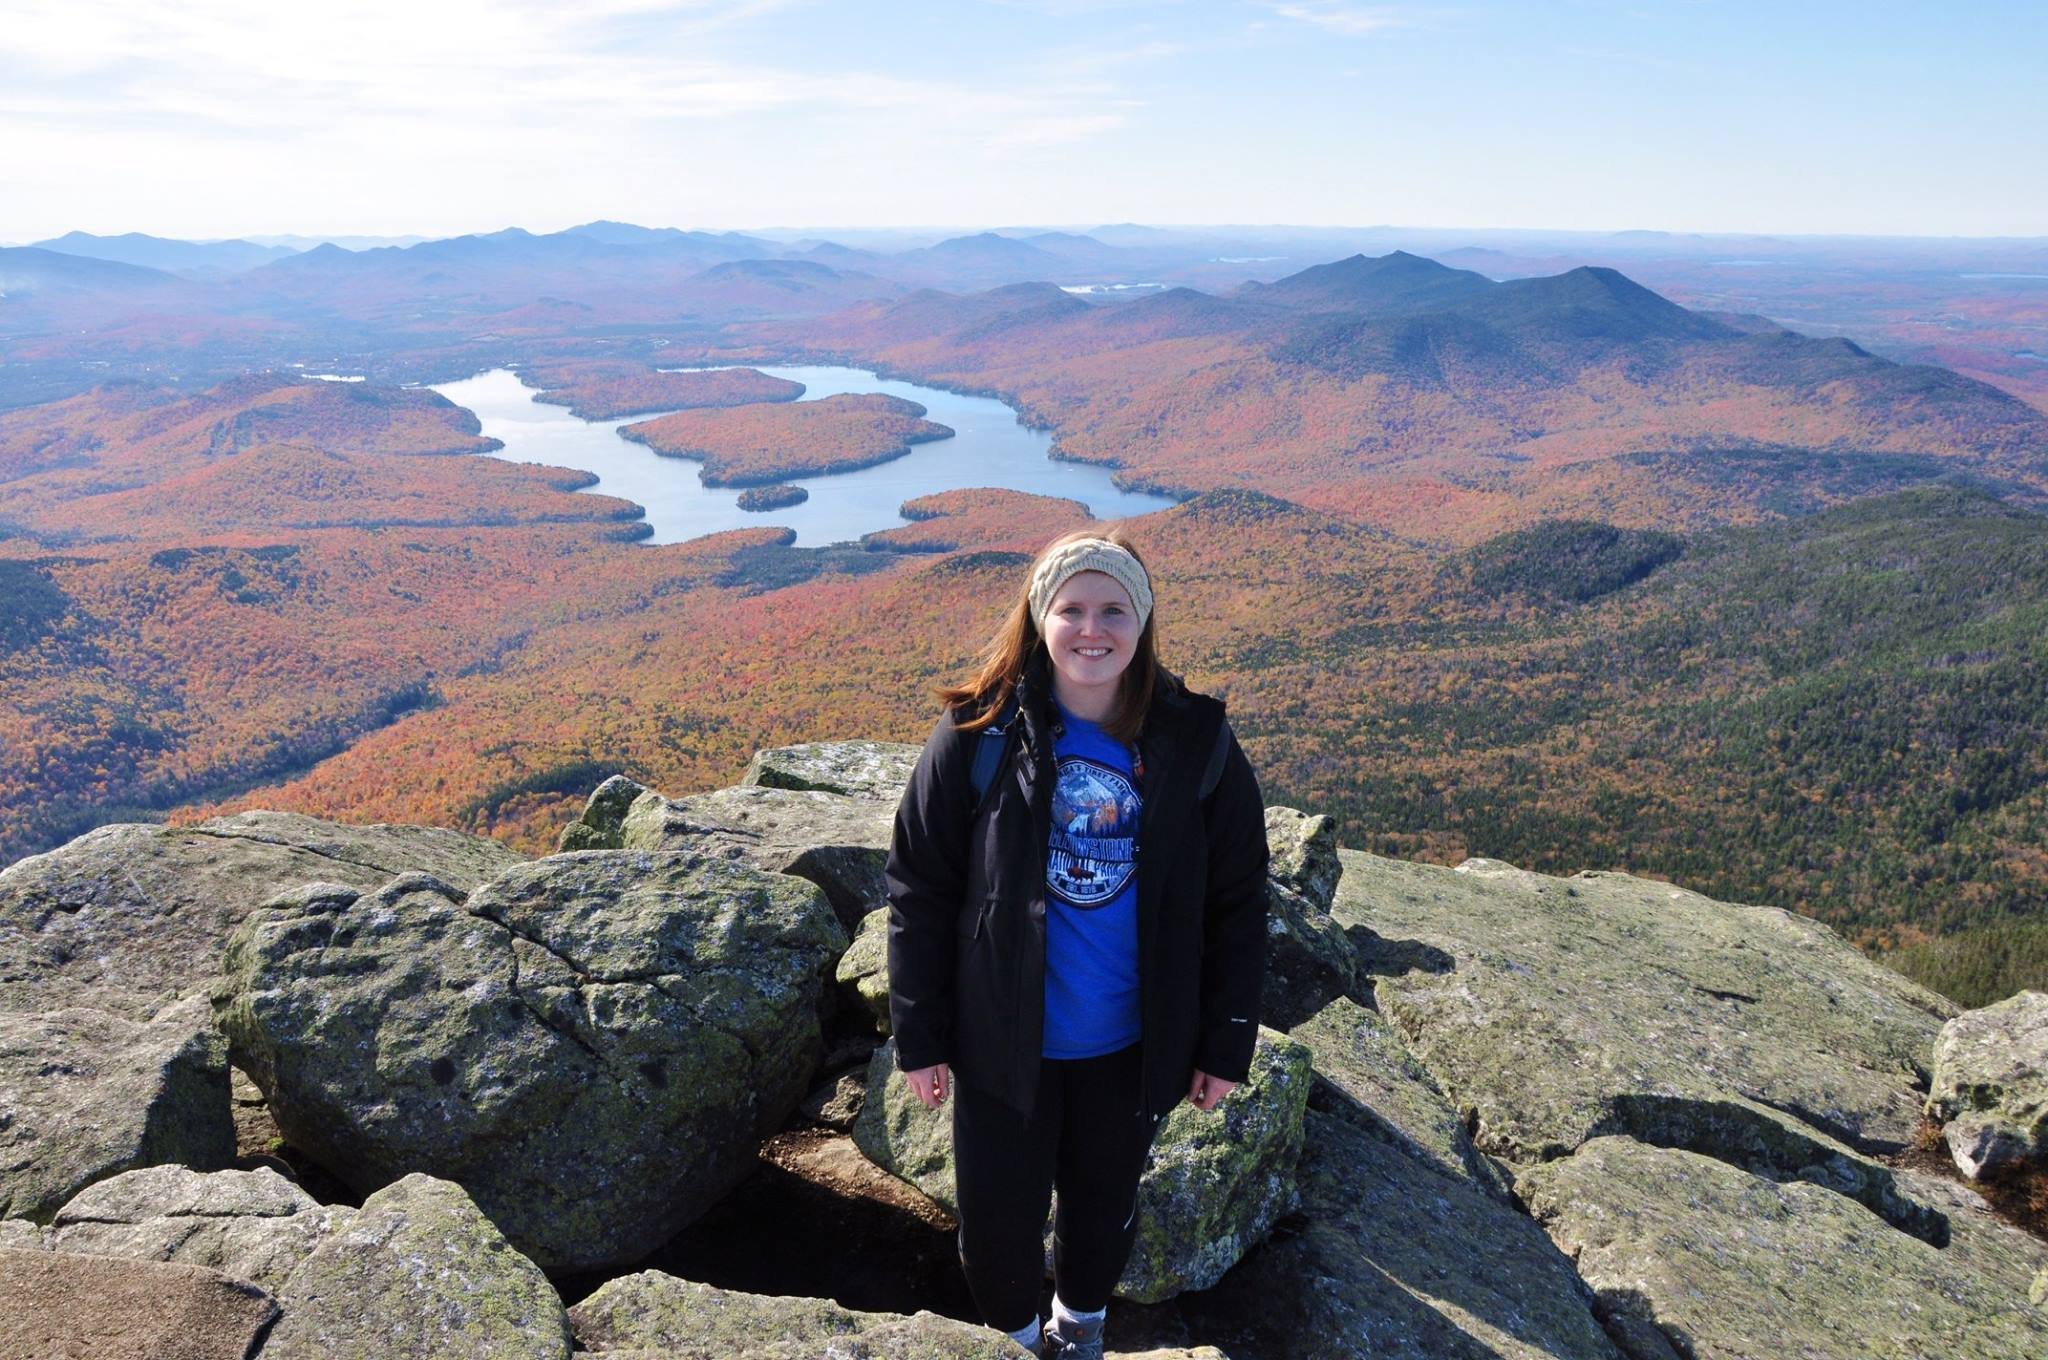
I mean look at those colors. I took the photos of Whiteface Mountain below back in October 2016. I had only survived the Franconia Ridge the summer prior and had no idea the mountains and views in store when I’d move to Massachusetts the following year.
Little did I know that five years later I’d hike up the very mountain that first introduced me to the Adirondacks.
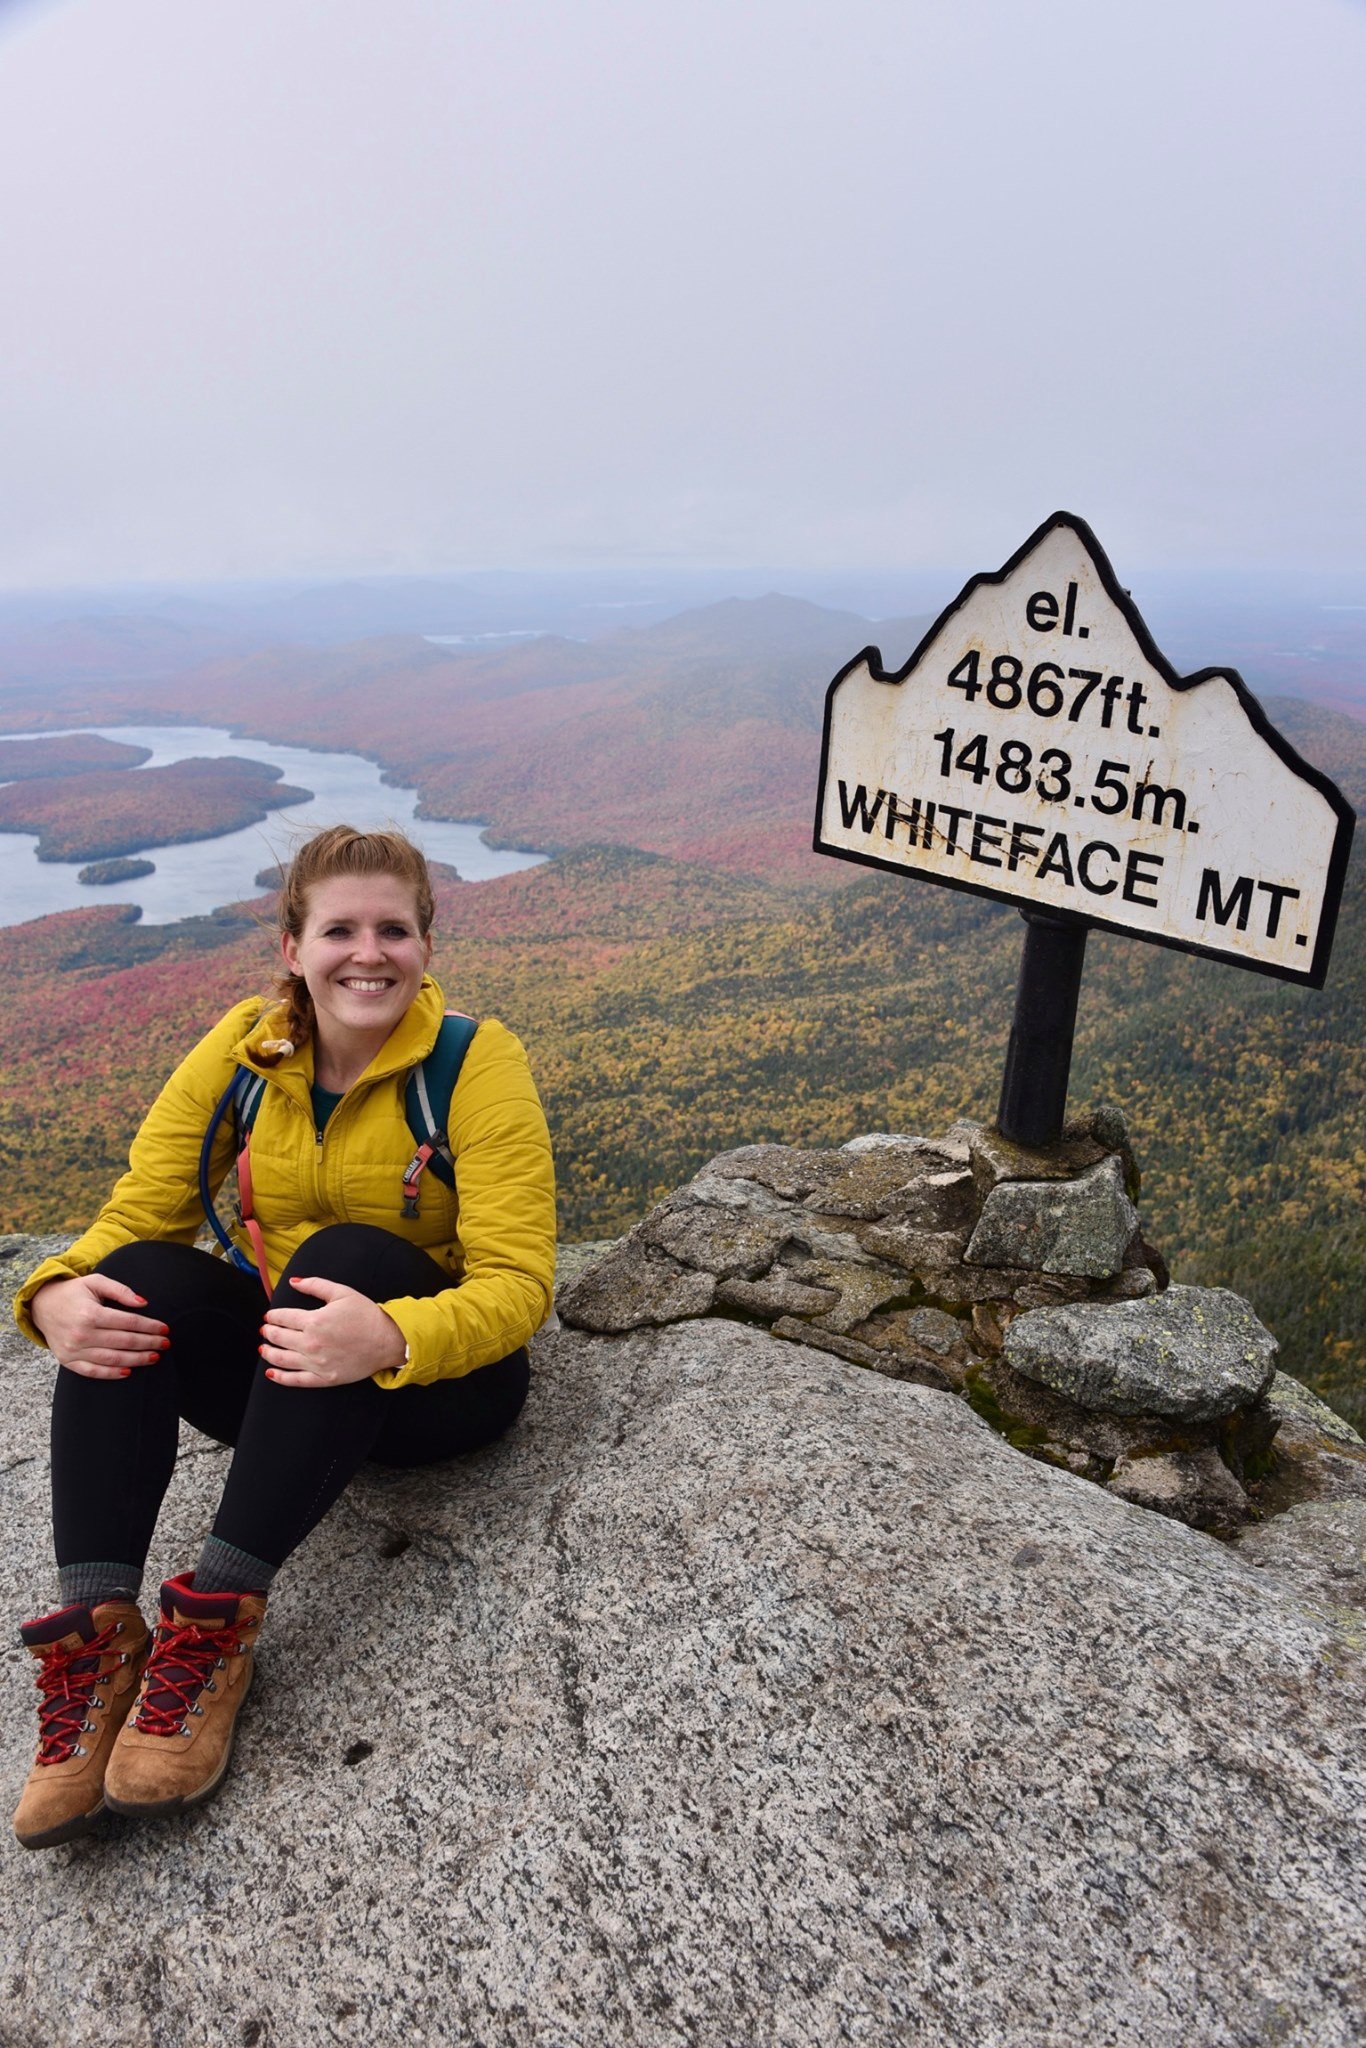
Whiteface Mountain in October 2020
Featuring a naive me, thinking I wouldn’t take on the Adirondack 46 at some point.
It also comes in at 4,867 feet, making it one of the highest peaks in the Adirondacks. Of course this places Whiteface on the 46er list (New York’s 46 highest peaks). Along one trail to Whiteface is a short detour to Esther Mountain.
On my hike up Whiteface, we took a slight detour in the wrong direction. When we approached the trail sign for Esther, it read, “path not maintained or marked.” Dejected from the detour, we trudged onward to Whiteface. After all, I wasn’t chasing the 46er list. I was there to spend time outside, and see the foliage. Not push on to a viewless summit in uncharted terrain.
Joke’s on me because three years after my Whiteface ascent, I decided I wanted to tackle the 46 highest peaks in the Adirondacks. So here I was with a free Saturday and a craving for a good climb. The weather was sunny and the temperature was moderate. I made a go for it!
Last weekend, I parked at the Atmospheric Sciences Research Center at 110 Marble Mt Ln, Wilmington, NY 12997. Plenty of parking here, but be sure to not park at the center itself. The trail is indicated with a visible sign.
From the start of the trail, it’s a lovely (short-lived) flat path before the 2,000 foot climb begins. A real-world, snow-covered stair climber. What more could you wish for?
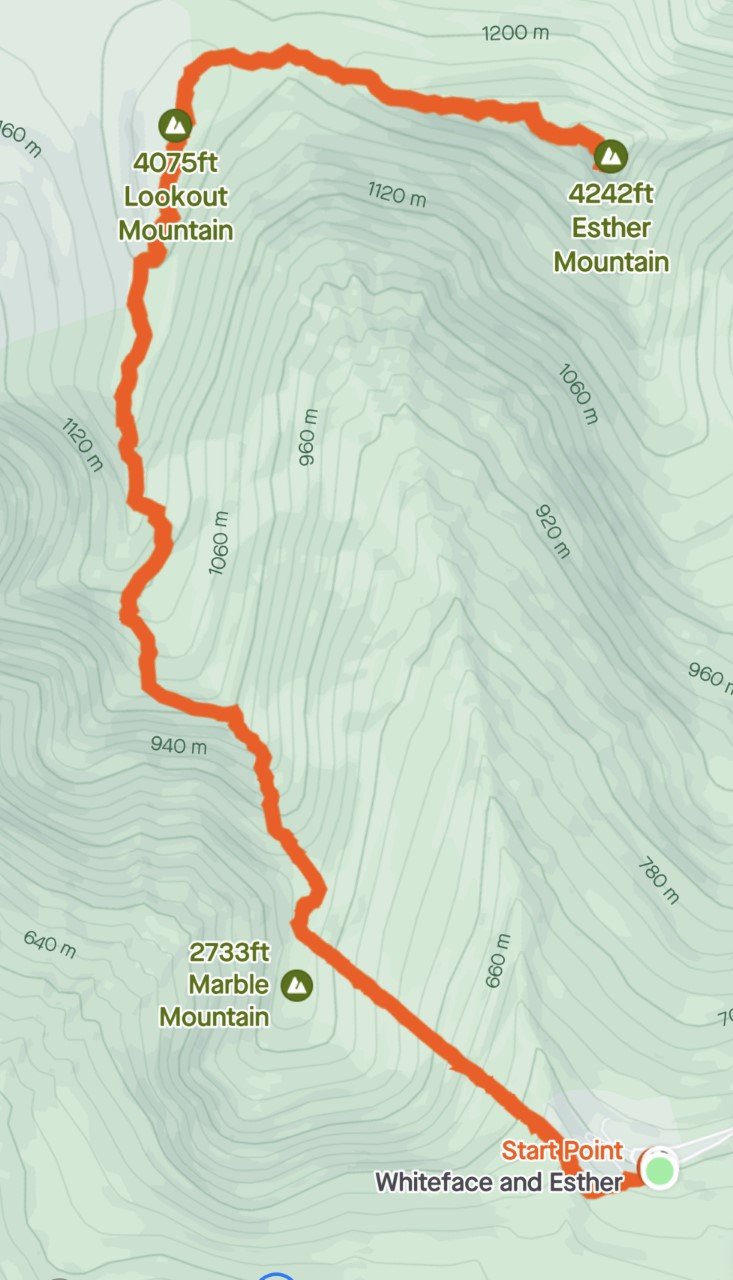
Trail Route from Strava
An out-and-back 6.3 miles with about 2,800 feet of elevation gain.
The great part in summer is that the sunshine is covered for this brutal, sweaty climb. The best part in winter when all the tree branches are bare, is that the sun shines just enough to warm your uncovered face, while the rest of your body is fired up.
I love a good climb, and Esther was no different. At about .8 miles, you reach Marble Mountain, roughly 2,700 feet. A great break spot, complete with rocks to sit on and a view worth gazing at. When you’re done, the next leg of the trip continues to climb (shocking, I know), up to Lookout Mountain at 4,075 feet.
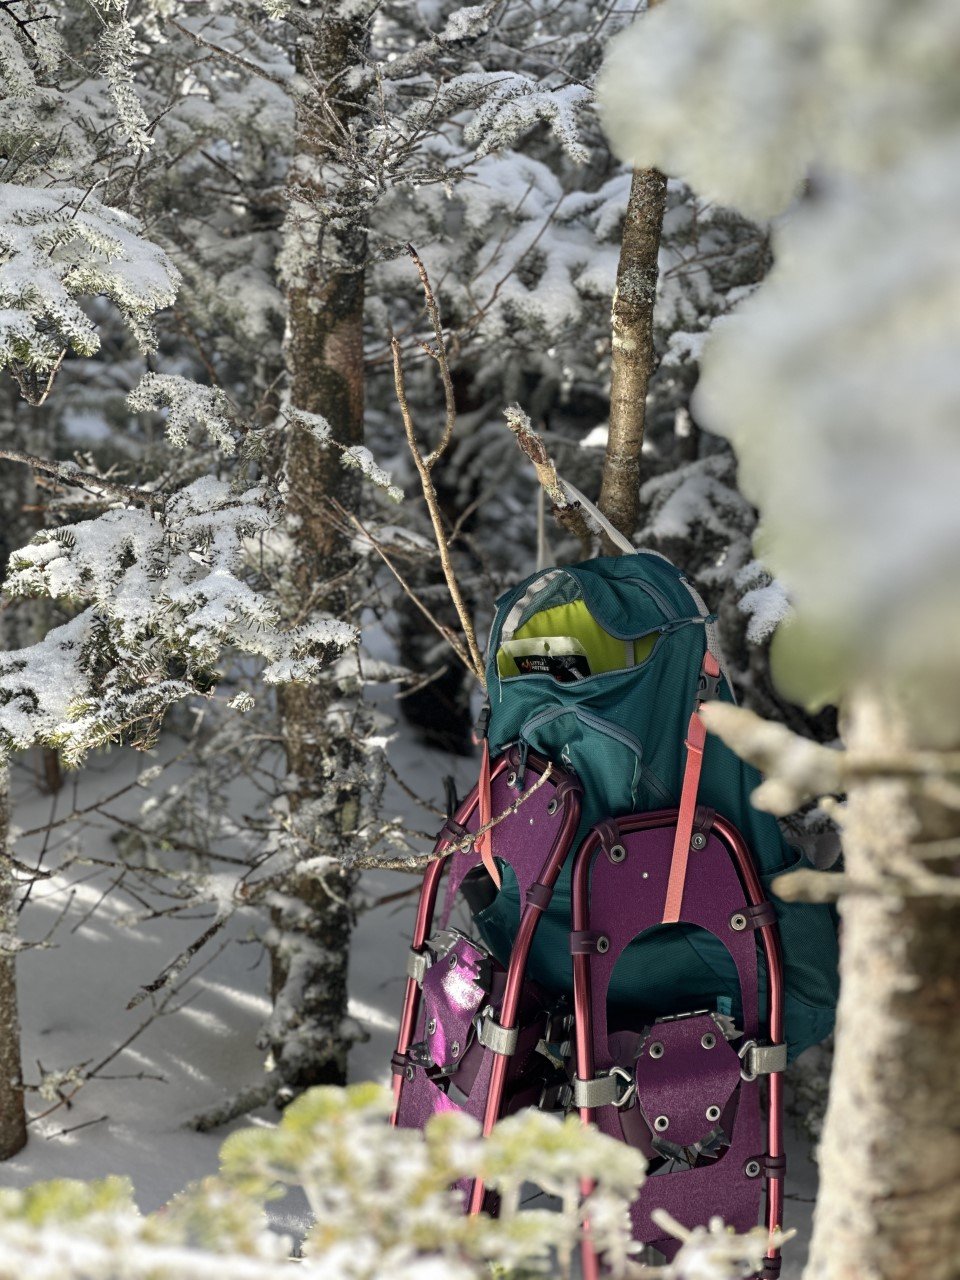
Snowshoes are actually required in the Adirondacks during the winter with more than 8 inches of snow.
The trail was very packed down, so I used microspikes on the ascent. I thought I’d try out my new snowshoes on the descent and they were incredible. These Winter Walker snowshoes from L.L.Bean are super affordable and did me well on a 4,000 footer! They are currently on sale too!
Esther Trail
The iconic Esther sign I referenced earlier is at this point, where you can either turn left for Whiteface, or head right, to the “not maintained” path. The beauty of winter (and several snowshoers before you) is having a very clear path outlined for you. I never faltered from the trail.
After a bit more climbing (several hundred feet), I soaked up the summit to myself. Everyone I have talked to Esther about always brings up the summer mudfest, or the lack of summit views. I’m not sure if it was because this was my first hike back in the Adirondacks after months away with marathon training, or if there were several feet of snow that elevated me, but I loved the far-off views of Whiteface I saw.
I’m a little biased because I also love winter hiking. A lot. I spent about an hour on the summit wanting to enjoy the perfect day before I headed down.
When I reached my car, I clocked in about 2,800 feet of climbing in 6.3 miles of going out-and-back on the Marble Mountain trail to the Esther trail.
The mountain is apparently named after Esther, a fifteen-year-old girl who was the first known person to summit. Turns out, she hiked up here just for the love of hiking. How fitting considering that was the exact way I felt all day up there. Hiking up Esther Mountain in the winter is definitely the way to go.
This was my 21st peak of the 46. Here’s to many more summit smiles!
If you enjoyed this trail review, check out these mountains:
Cascade and Porter Mountains in the ADKs
Twins, Zealand, Bonds Traverse in the Whites
My Winter Hiking Gear Must-Haves
Here are my gear must-haves if you’re wanting to avoid some of the harsh icy parts that winter comes with…
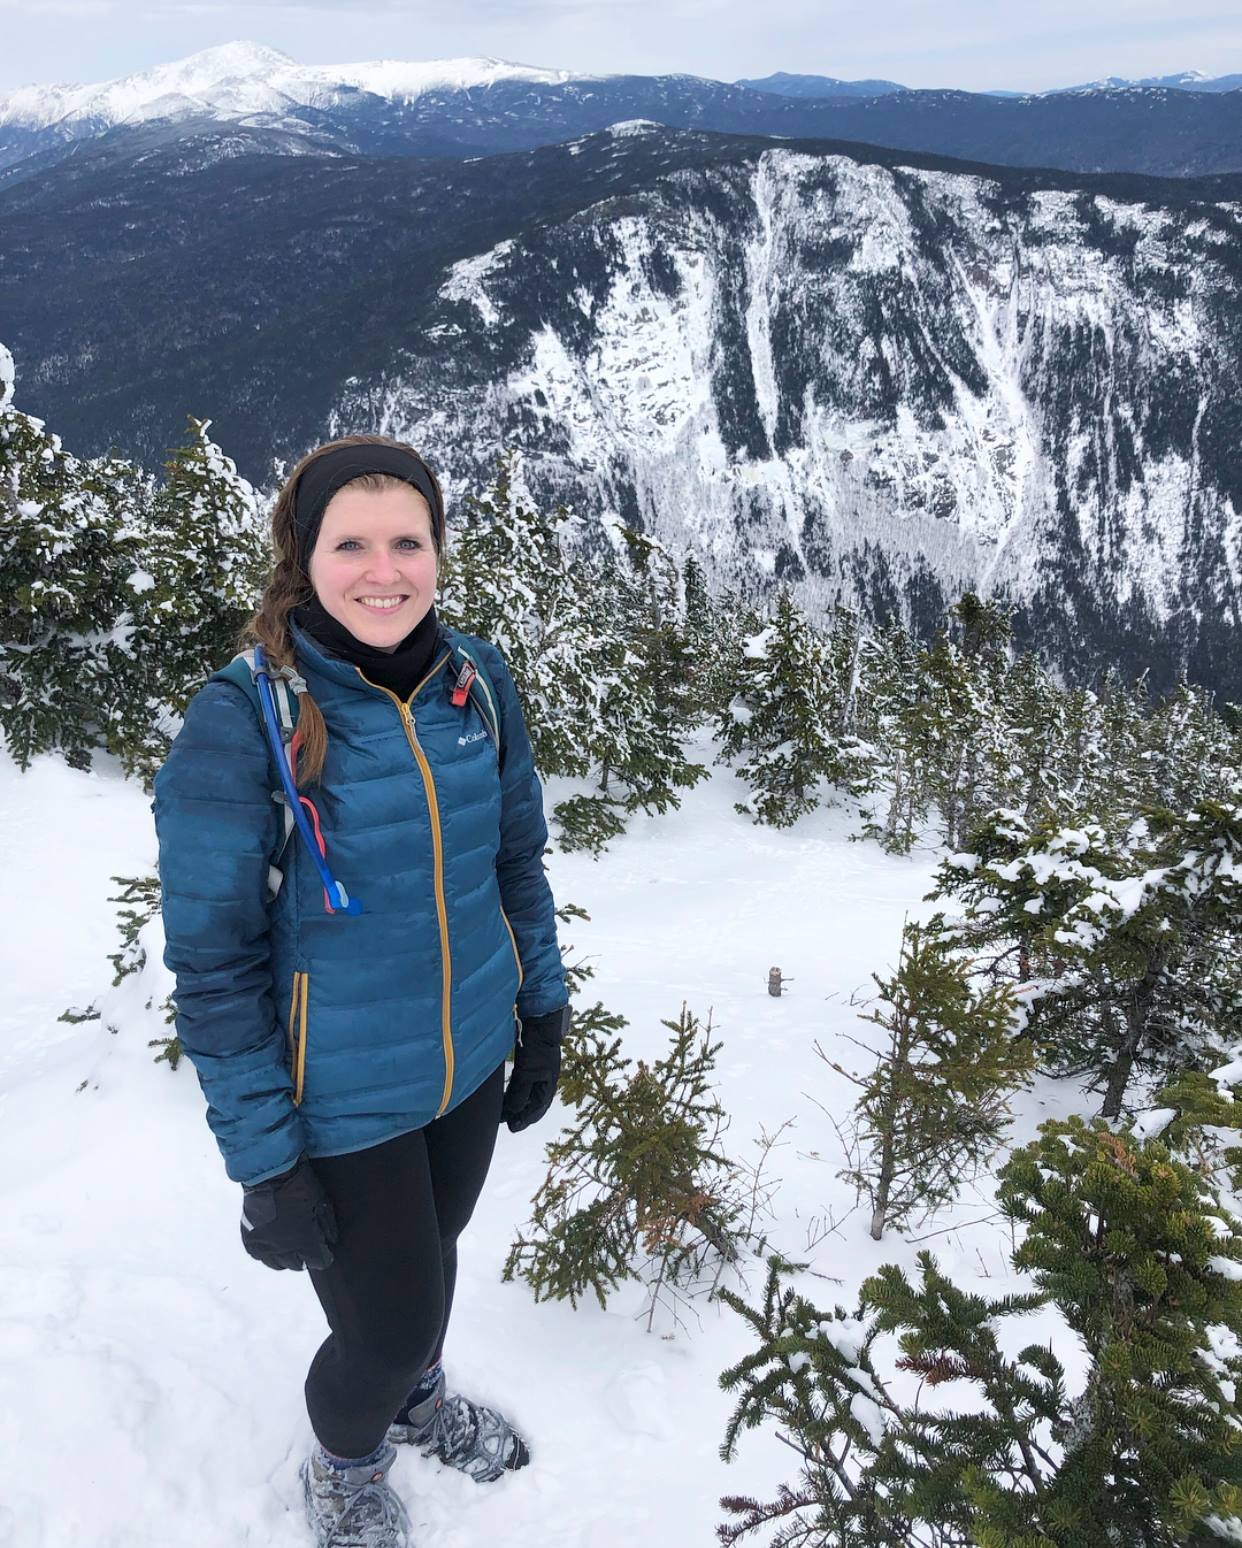
One of my first hikes toward my NH 48 goal. This was the summit of Mt. Tecumseh. What I loved about it is the view you get when you’re standing atop several feet of snow! I hiked this same mountain the following summer and it’s a noticeable difference without the added snow height boost.
I love the winter. And that’s saying something as a gal born and raised in Texas. It snowed once growing up and my brother and I went all out. We built an igloo (it’s surprisingly warm inside!). Sneak a peek at high school me below loving the couple days at home we had with the famous Texas snowfall in 2010.
The highest recorded snowfall, still to this day in Texas, was that year with 11-12 inches.
Since then, I knew I wanted to live in a place with season. It took me a few years (alright it took six), but I made it to New England. Ironically, I’ve lived here for six years now and can’t see myself anywhere else.
As much as I love hiking in the fall and taking in the views, winter truly warms my heart. The solitude of the trails. The easily accessible parking. The lack of sweating trekking up. Snow-capped mountain peaks for miles. Honestly, even a stroll on a local trail with no views offers the same solace I yearn for because of the trees wearing white sweaters along every step I take.
Over the years, I’ve gotten bolder and more confident in my winter hiking abilities. It started with short hikes and grew into longer, 4000-footers ones. I’ve made my fair share of mistakes (hiking with a friend who wears glasses and having her glasses break halfway up a trail – sorry Victoria!), and definitely froze my butt off one too many times.
The icy summit of Camel’s Hump in Vermont.
Nonetheless, winter is a beauty if you give her a chance. Here are my gear must haves if you’re wanting to avoid some of the harsh icy parts that winter comes with:
1. Layer on the layers.
It is always easier to take layers off, than add them on. I avoid cotton because once you sweat or take a dive or slip into the snow, you’ll be wet. A feeling you’ll grow to despise on longer hikes.
I strongly recommend the following:
Fleece-lined leggings (or pants!)
Tank/short sleeve shirt
Long-sleeve shirt on top (ideally thermal)
Warm jacket with a hood
Thick socks
Another pair of socks when the first gets soaked (trust me)
Winter gloves
Ear warmer headband (or a hat!)
Neck warmer you’d wear skiing (works well for hiking and runny noses too!)
I usually warm up pretty well on a hike once the elevation gain kicks in. I also carry a backpack large enough to fit in the long-sleeve or jacket I have on when I’m overheated and take it off.
2. Get a good grip with microspikes.
Think of these like gnarly spikes for your hiking boots to dig deep into ice and snow to give you a better grip. I bought mine at a small outdoorsy store in Burlington, Vermont over four years ago, but they’re at any outdoors store, and of course, Amazon for convenience.
These microspikes saved me on the summit of Mt. Moosilaukee. Everyone always boasts incredible views from this mountain, but my experience was a tad different. My trooper of a father came to visit and I took him up this mountain in April for his first 4ker. Naturally, we were met with a white-out and wild winds.
3. Get the gaiters.
I remember one of my first hikes in the Whites. A male hiker passed me by with his poles and with it being summer, he was wearing shorts. As I stared at the ground to watch my own steps, I noticed he had these odd-looking socks covering his ankles.
I asked him what was on his ankles. He informed me they were gaiters and help keep dirt and small rocks from getting into his boots. I was stunned – this man was a genius! That night after my hike, I googled “gators,” as a true Southerner would.
Naturally, all my results came up showing the alligators in the wild and in the suburbs of Florida. Something was off. I retyped, “winter gators for hiking” and Google lovingly corrected this English teacher with “gaiters.” These are intended for winter use and I was so pumped to no longer have ice ball clumps on my socks. It’s tiring (and super cold) when you have to constantly bend down and remove these rock hard clusters of ice off your socks. Only to have them rejoin your socks for the ride up the mountain minutes later.
Then, I looked at the price of gaiters. As much as I love hiking, it’s not a cheap hobby if you’re embracing it in all four seasons. Winter hiking isn’t a joke. It took me a few years after learning about gaiters to finally invest in them. These are the ones I purchased from EMS.
Can you tell I’m hiding the coldness of frigid feet behind this smile on a hike to bag Mt. Tom, Field, and Willey? Gaiters would’ve came in handy as the ice clumped on.
4. Heat the hands (and toes!)
Hot Hands are a brilliant invention. I mentioned gloves and warm socks earlier, but that doesn’t always cut it. I buy my Hot Hands in bulk at Costco so I’m never without a pack on those chilly days. You open the pack, shake them up, and that’s it!
Tip: When you place them in your boot to warm your toes, make sure you place it between your sock and shoe. They are very warm and shouldn’t touch your actual skin!
If you’re environmentally conscious (which I’m starting to look at more after staying in a sustainable tiny home last weekend in Vermont), REI came out with a biodegradable version of Hot Hands. Check them out here. Once you’re done embracing their warmth, you can cut the warmers open and compost the minerals on the inside. The packs themselves will still need to be thrown away.
Do you feel ready to walk into the wintery woods? What other gear items do you think are a must? Let me know!


