
How I Traveled Across the U.S. for Less Than $1,000
Almost anyone can rent a cargo van, throw a mattress in the back, and travel the U.S. with a little planning…

A few days into van life and still smiling!
When planning our summer road trip, we set our eyes on what we believe to be a hidden gem in this country: the Sawtooths mountain range. One glance at these peaks will leave you mesmerized. And so began our planning phase. The trip was originally going to start with a flight from Boston to Boise and back. Below is how we brainstormed from there, while remaining budget-conscious.
Our final trip took us from Western Massachusetts to Idaho and back home. Here are all the places we explored or stayed in:

Columbus, Ohio > St. Louis & Kansas City, MO > Southern Colorado > Southeastern Utah > Twin Falls, Boise, and Sawtooth Mountains, ID
How to Start Planning Your Trip
We initially wanted to fly out to Boise and try out the RV or van life via renting. Flights from Boston to Boise hovered around $500. We were going to bite the bullet: purchase the flights to Boise and rent a renovated van or small RV for around $140-$200 a day. As I started to get to the final page of payment for the van, the numbers added up. Big time.
Not only is there a charge each day of renting, there is an additional required insurance (understandable of course), as well as a hefty fee for driving more than 100 miles per day. Crunching those numbers led to a few thousands of dollars spent on housing, transportation, and flight for a two-week trip. One website we researched was Wander Vans, which for a two-person van for 14 days totaled to $2,200. Additional mileage over 125 (for this specific company) was 35 cents per mile. That total doesn’t include insurance, which was an extra requirement. These vans were sold out for the dates we wanted, but was one of the cheapest options we found. Others grew exponentially from there.
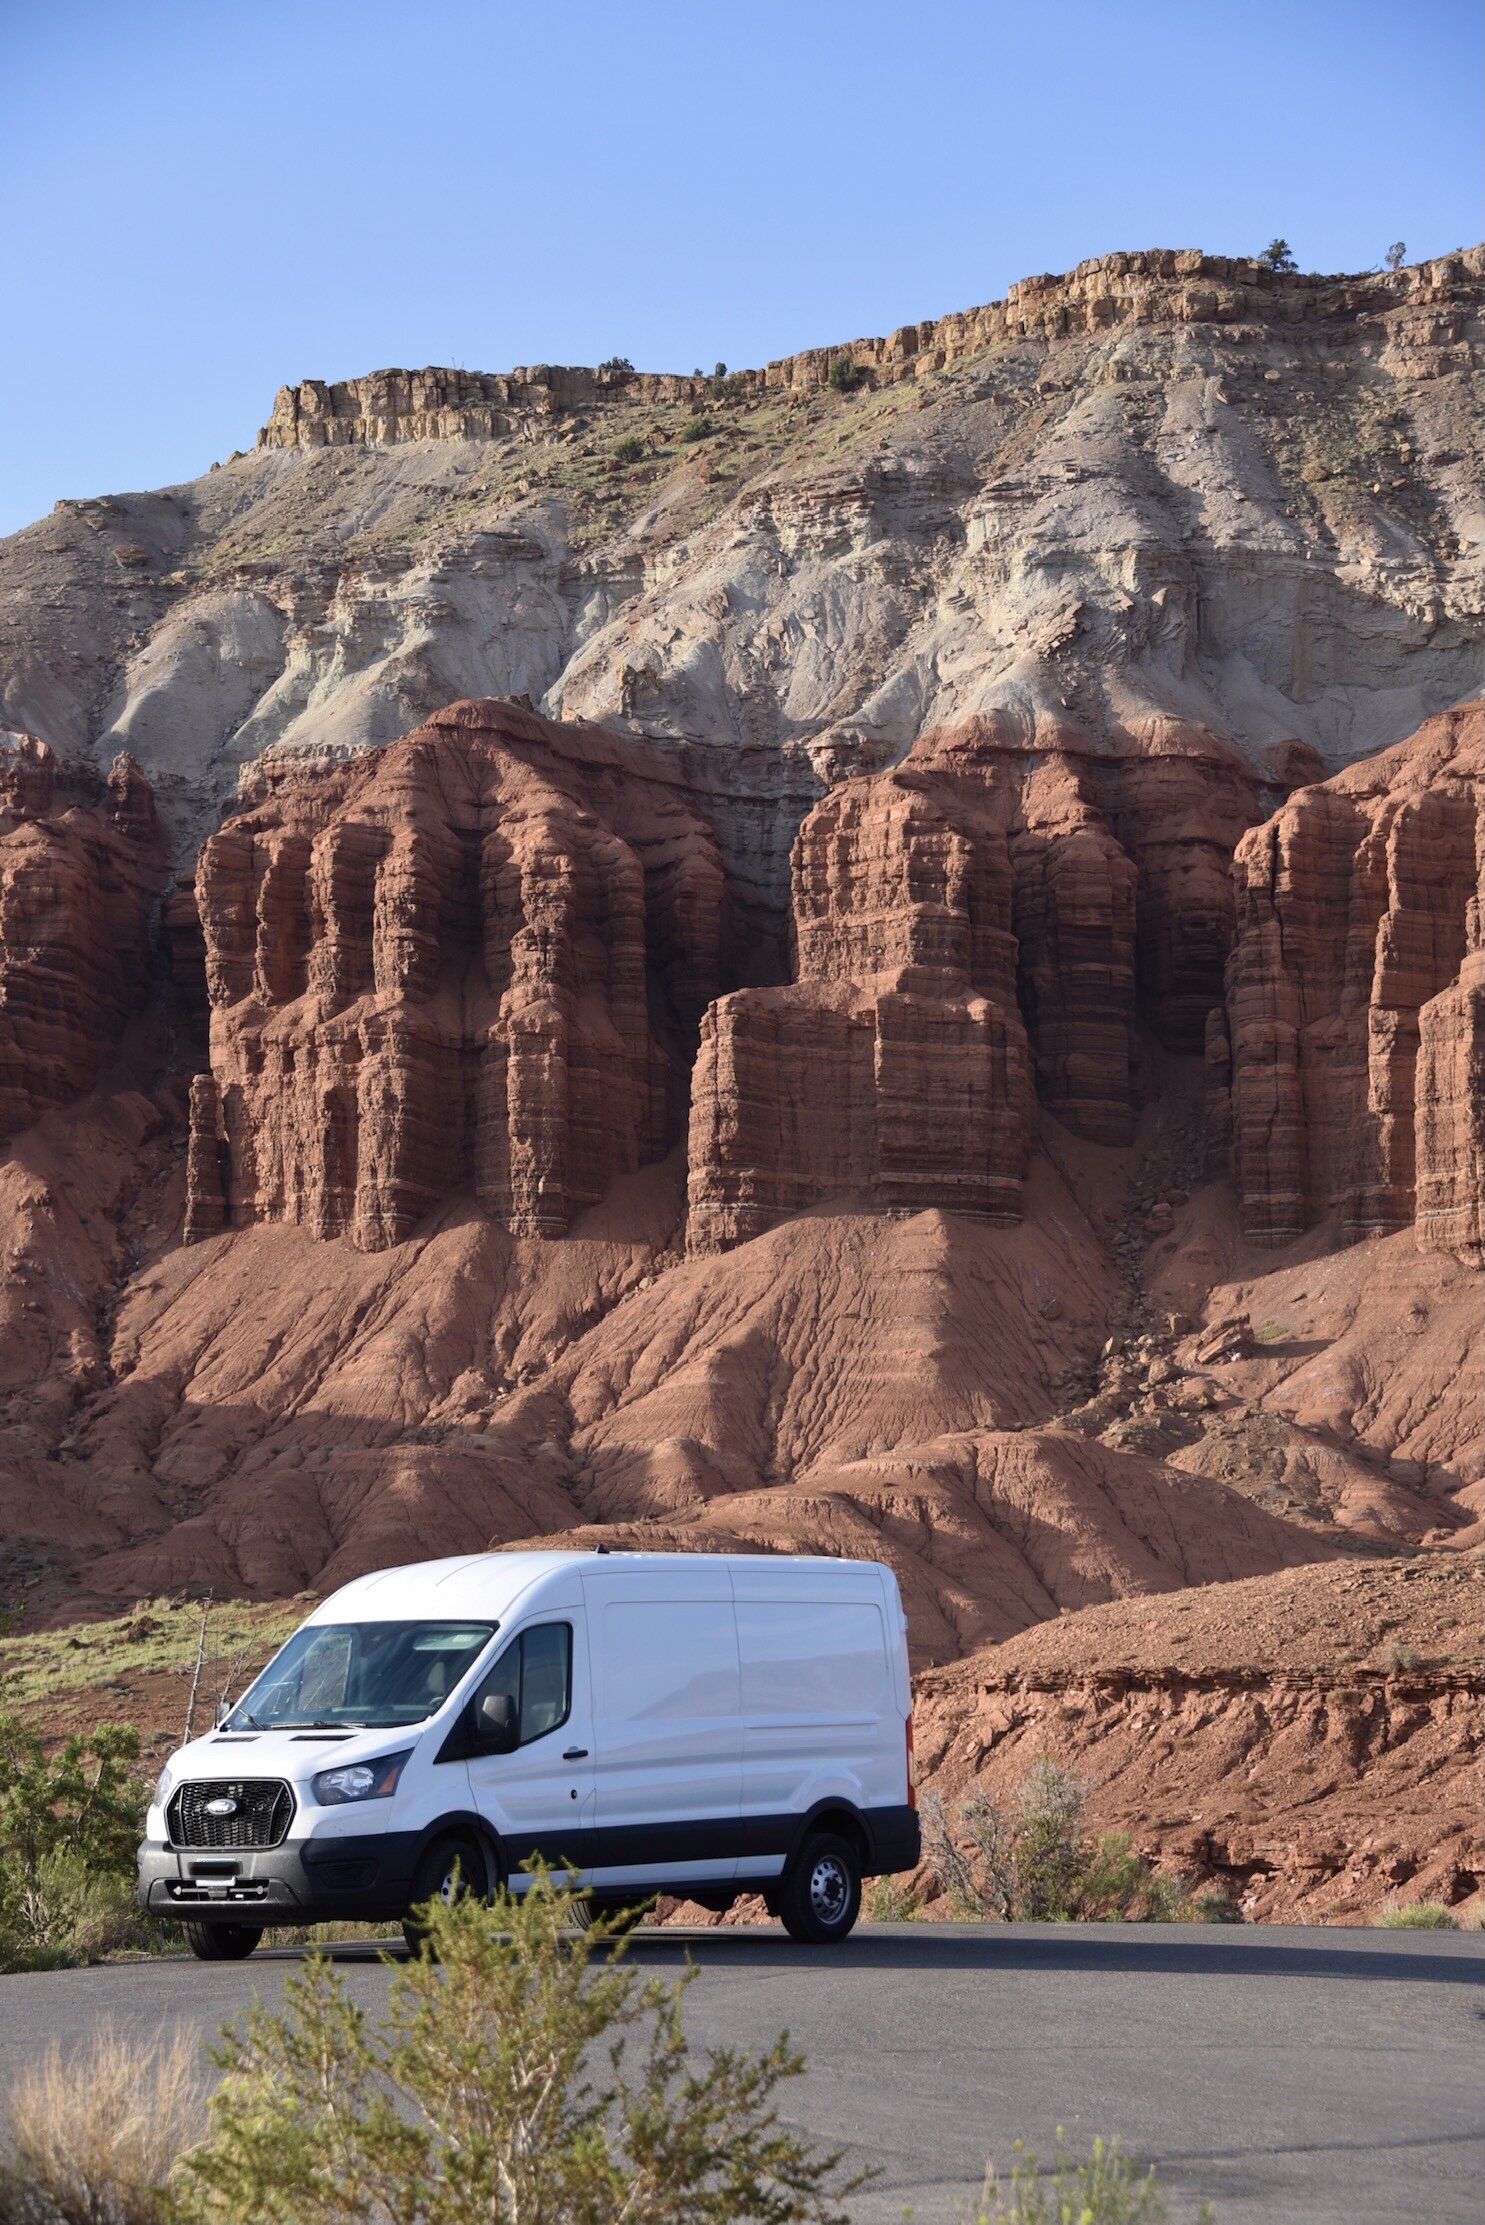
Not a bad spot to enjoy the sunset in Capitol Reef National Park, Utah.
We loved the idea of having a car and housing in one, and of course insurance and cleaning fees are part of that when renting. We tried to justify the expenses by pointing out the van is both the mode of transportation and place to crash each night, but ultimately decided there had to be a cheaper way.

The van’s traveled to some neat places so far like the Black Canyon of the Gunnison National Park in Colorado.
And thus, the road trip idea took a different turn. I used Priceline this time around to book a rental car. When selecting an option (I usually get an SUV to fit all of our camping necessities), I came across a cargo van option. I may be late to the game (or never really had to move things around), but cargo vans are an option? And cost less than an SUV? Not sure where I’ve been this entire time, but I’m glad I came across it.

Making our way through the Southeastern corner of Utah.
The total cost for a two-week rental was $612, but we added in an extra day for $60. The taxes and fees came out to $110, so the total cost for renting a cargo van in Western Massachusetts was $785. We split up travel costs, so my half came out to slightly under $400.
If you’ve read my previous post, 7 Lessons I’ve Learned Road-Tripping Across the U.S., you’ll know I never skimp out on rental car insurance. Of course it’s up to you, but it did add $500 to the total trip. Again, $250 on my end.
Where to Stay
Now that transportation was secured, we needed a place to stay everywhere we traveled. At first, as I mentioned, we looked at transportation that included a stay (i.e. an RV or van). When we threw that out the window and added in the cargo van, we considered Airbnbs. We love a good Airbnb, but for 14 nights, the cost would add up swiftly. So that was out.
With the cargo van, we knew we had two seats in the front and a large space for our needs in the back. The idea for a DIY renovated van was born. We borrowed two air mattresses and an air pump, so the sleeping aspect was covered.
Sure a renovated van with a built in bed, along with ventilation and a heating system would be ideal, but it’s very expensive. Almost anyone can rent a cargo van, throw a mattress in the back, and travel the U.S. with a little planning.
With our bed arrangement figured out, next up was deciphering places to sleep. My favorite option is Kampgrounds of America, or KOA. They are affordable (if you join their membership, you receive 10% off each time – it pays off if you utilize them!) and are all over the U.S. I’ve stayed in cabins and tent sites from the Adirondack mountains in New York to the suburbs of Ohio, to the Badlands in South Dakota. They are everywhere!
The tent sites range based on location. In Moab, Utah, for a tent site with electric plugs and water, it’s $50 a night. You do get a safe location to park, along with wi-fi, showers, and coin laundry at every KOA. For the peace of mind and convenience, it’s worth the price for me! Other not as popular locations, or tent sites without electric can be as low as $30 a night.
If you are budget-conscious as we are, we researched another option. Sure KOAs are great, but we wanted to see how affordable we could go. And that’s when we came across Pilot/Traveling J and Love’s.
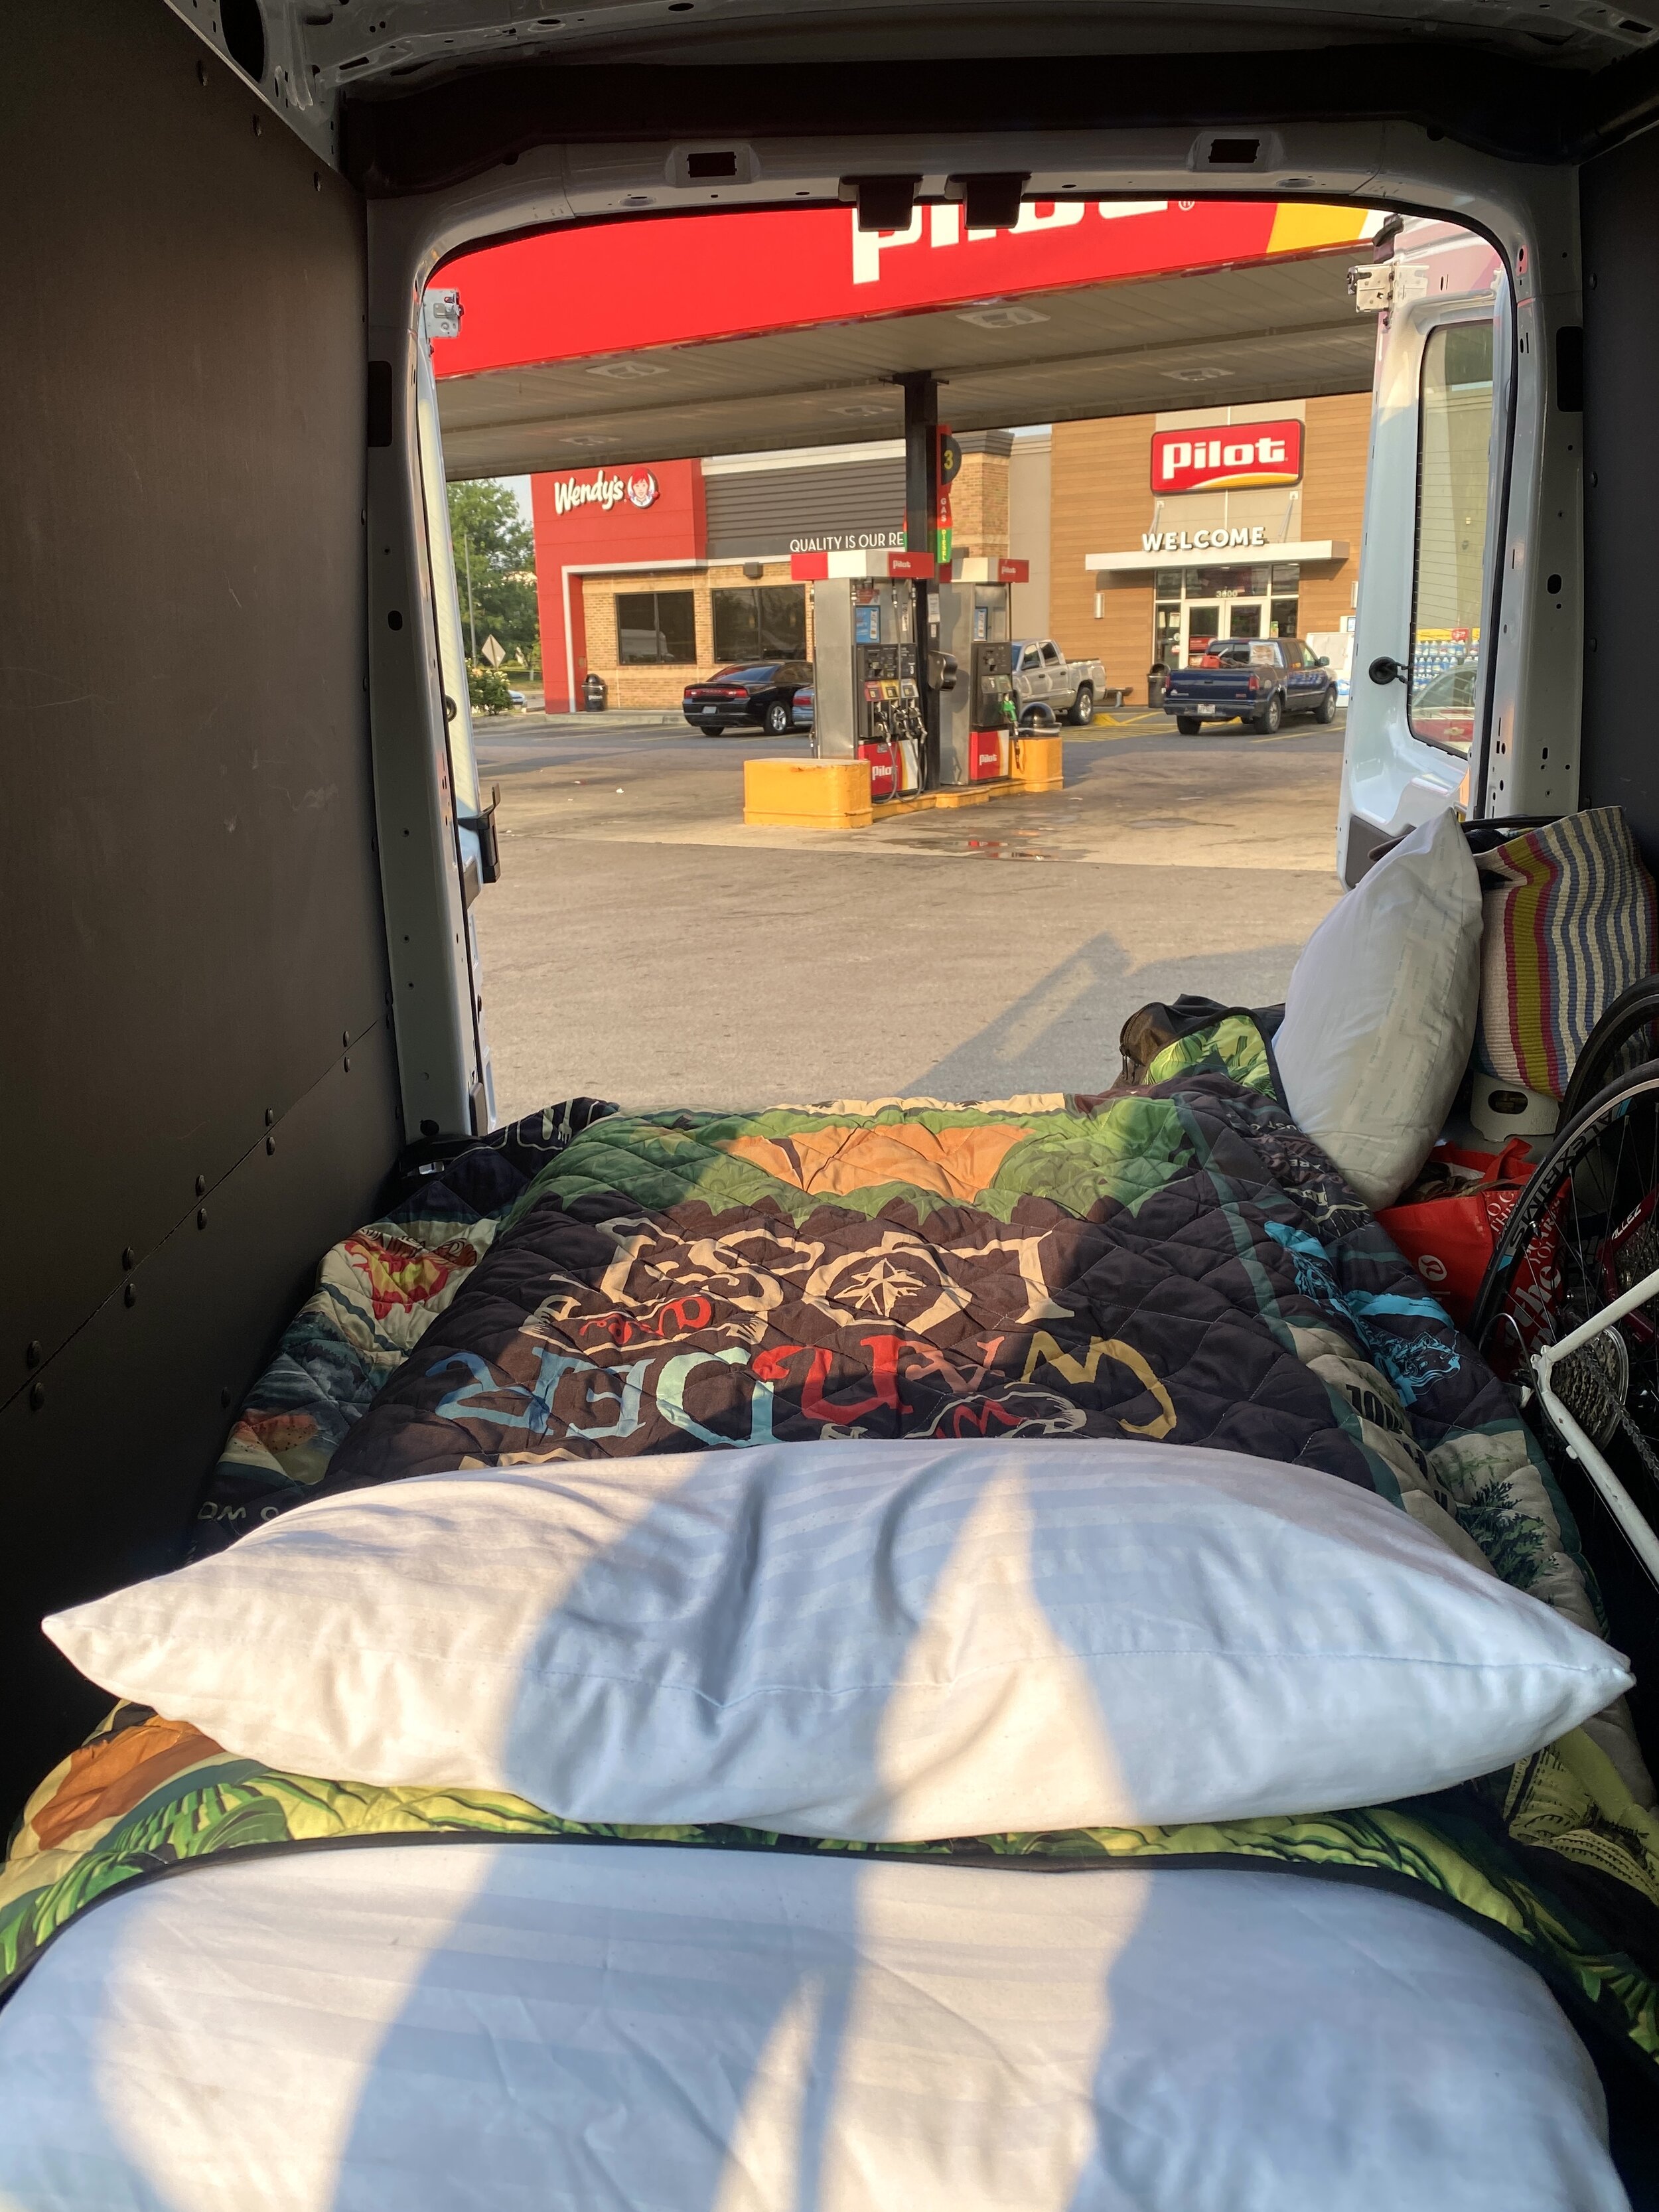
Like I mentioned, van life isn’t always Instagram-worthy, but it sure is great being on the go and saving money. Here’s one of the Pilots we stayed at.
Showers on the Road
Most people know van lifers park in Walmart parking lots overnight for a free stay, but the real gem is a Pilot, Traveling J, or Love’s traveling center. As much as I can go without a shower when on the road or on a camping trip, two weeks might be pushing my limit.
These three companies are all essentially the same: a 24-hour gas station for truckers that provides free restrooms, showers for $13-$15, and overnight parking.
The showers are extremely clean and private. One of the best parts is that it isn’t timed, and they even provide towels (though we used our own). To save even more, you can share a shower if you’re traveling with someone. One person hops in, then on the way out, you can pop in. It’s an easy way to turn a $13 shower into $6.50!
Pro tip: Download the Pilot/Traveling J app for rewards.
Costs not included: Food and Gas
The only costs not included above were food and gas. Gas prices vary based on your trip and time of year. For example, our two-week road trip to Montana last summer included wildly lower gas prices than this trip. In several places along the way we paid $4/gallon. Food can be done in a budget-friendly manner and can look like peanut butter and jelly sandwiches everyday for lunch.
We knew we’d be moving quickly between national parks in Colorado and Utah, so we didn’t always cook our own food. Food is where we splurged to try new coffee shops or the local eateries. A big money-saver is a quick Walmart trip for basics. We bring our own kitchenware, grill, and propane tank, which helps too!
The van life isn’t always glamorous, but with our budget-friendly tips, hopefully it can be accessible for everyone who wants to give it a go. Would you try it out? Do you have any questions on how to start traveling in a van?

Planning a Trip to Hawaii
Tips to get started planning your island getaway!
How to Plan a Hawaii Trip: 4 useful tips to get started planning your island getaway!

1. Narrow in your days.
As a teacher, I’m limited to what times of year I can travel. However, that isn’t the case for everyone. Consider if you can possibly fly out on a Thursday, when flights are cheaper. Gauge whether you will need time to recover from the time changes and consider if a night in California is affordable and worthwhile for you. It turned out that our flights were cheaper if we flew direct to California, stayed the night, and flew out the following morning. A win-win.

2. Map out your experiences.
We knew we wanted to bike down from Haleakalā National Park in Maui, but we also wanted to night dive with manta rays on the Big Island. These excursions are not offered daily, so we needed to map out what days and times they were offered and go from there.
My favorite way to map things out visually is with Google sheets. I have used the same template for trip planning for a few years now thanks to a tech savvy friend of mine. Here’s what our first two days in Maui looked like, mapped out: times, dates, experiences included.
If you’re interested in the template above, subscribe to my blog at the bottom of this page, and I’ll send you my template for free!
3. Read up on safety precautions.
Since we’re still living in a Covid world, it’s important to minimize any surprises (some are inevitable!) while traveling. Going into Hawaii, I knew we would need a negative Covid test to enter Maui. Here’s what we needed to do:
Create a Hawaii Safe Travels profile.
Enter in all the information for where you will be staying. Since we were island hopping, we spent a bit of time entering all of this in.
When booking a Covid test, we read through Hawaii’s Trusted Partners to determine which ones were close by. We landed on CVS because of convenience, but it did cost us $139.
After receiving a negative test, we uploaded it to the Safe Travels profile. The website suggests you print a copy, but I strongly recommend you do. If for some reason your QR code doesn’t get sent to you (which it did for one of my friends), then the printed negative test allows you a stress-free passage through.
Finally, 24 hours before your departure to Hawaii, fill out the pre-travel form and you’ll receive a QR code. Save this email or screenshot it for easy access when you land.
That’s it! Unless you are island hopping. If you’re staying in Oahu the entire time, you’re good to go. If you are going to Oahu after another island, you’re also in the clear. If, like us, you decide to go elsewhere, like Big Island, we needed another negative result within 72 hours of departing to Big Island (meaning our original negative results to Maui would no longer suffice). We budgeted and booked time in our itinerary to take a CVS test while in Maui.
*This post was written in early May, after a week spent in Hawaii at the end of April. Hawaii officials are in talks about a vaccine passport, which would allow mainland travelers to bypass several of the above protocols. During my trip, this was not made official yet. *

4. Leave room for unplanned adventures AND for driving time.
We wanted to visit a black sand beach in Maui, but it didn’t work out, so we added one in last minute in Big Island (pictured above). My next tip is to leave time in your itinerary for unplanned adventures like this one, and for driving from place to place.
One thing we did not realize when booking airbnbs is the distance to what we wanted to do. On Big Island, we had this incredible, off-the-grid Airbnb right outside Volcanoes National Park. The only setback was that our manta rays excursion and the airport we were flying out of were two hours away.
If we had done more research, we would have stayed in that Airbnb for one night to explore Volcanoes National Park, then stayed near Kona the next couple nights to save on driving time.
Lastly, leave room for the unexpected: someone wants a snack, a picture, a pee break. It all adds up, so be sure to leave time in your itinerary for these little stops that often are forgotten about until it’s in the moment.
I hope these tips help you plan your adventure to the beautiful islands of Hawaii! Stay tuned for the next few posts where I take you with me into craters, volcanoes, and underwater. Subscribe to my email list below to be the first to find out when I post!